Creating Tabs & Pitch Sets
This guide will walk you through setting up your coach's interface, from creating your first tab to adding pitches and locations.
Initialize Your Player Tab
The first step in organizing your dugout is creating a Tab. Each tab typically represents a specific player or a specific role (e.g., "Starting Pitcher" or "Defenses").
- Open the RelayFTW app on your phone or tablet.
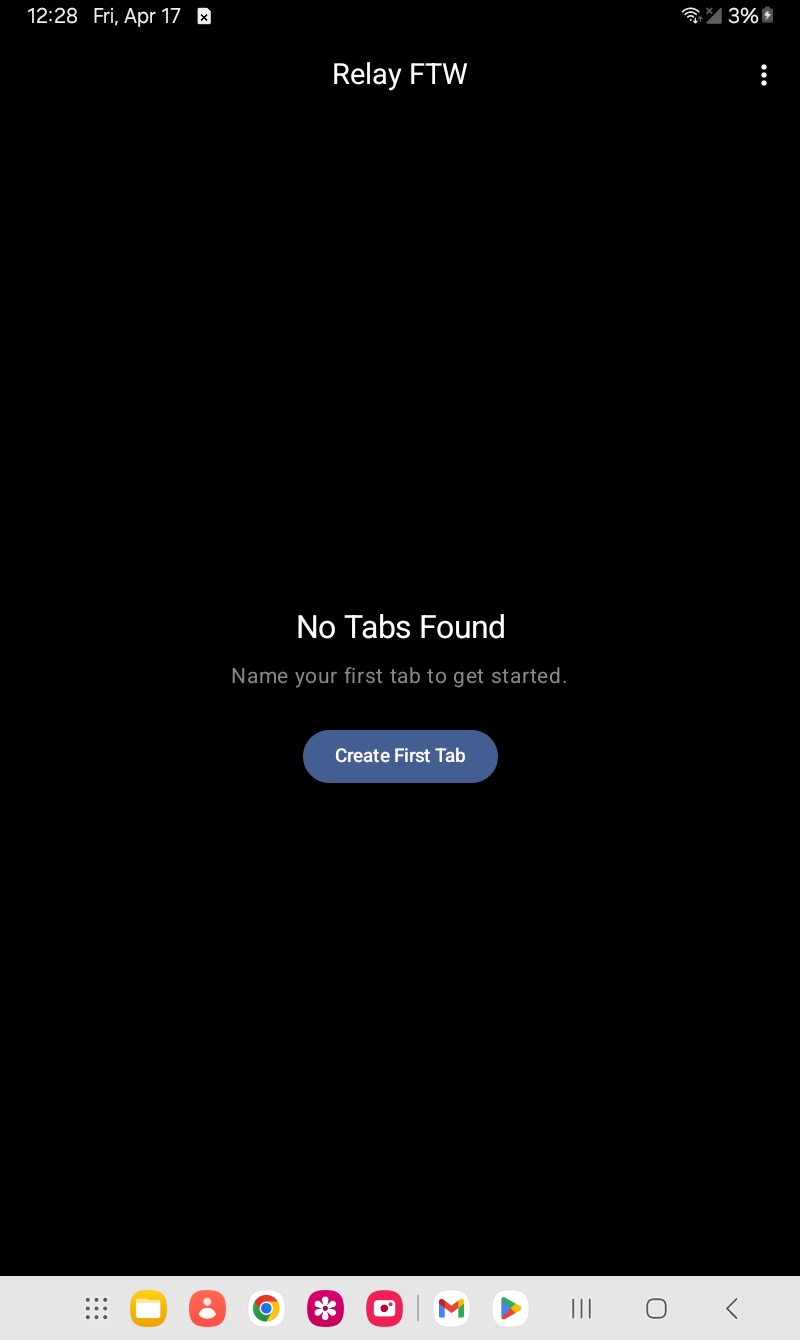
- Tap the Create First Tab button.
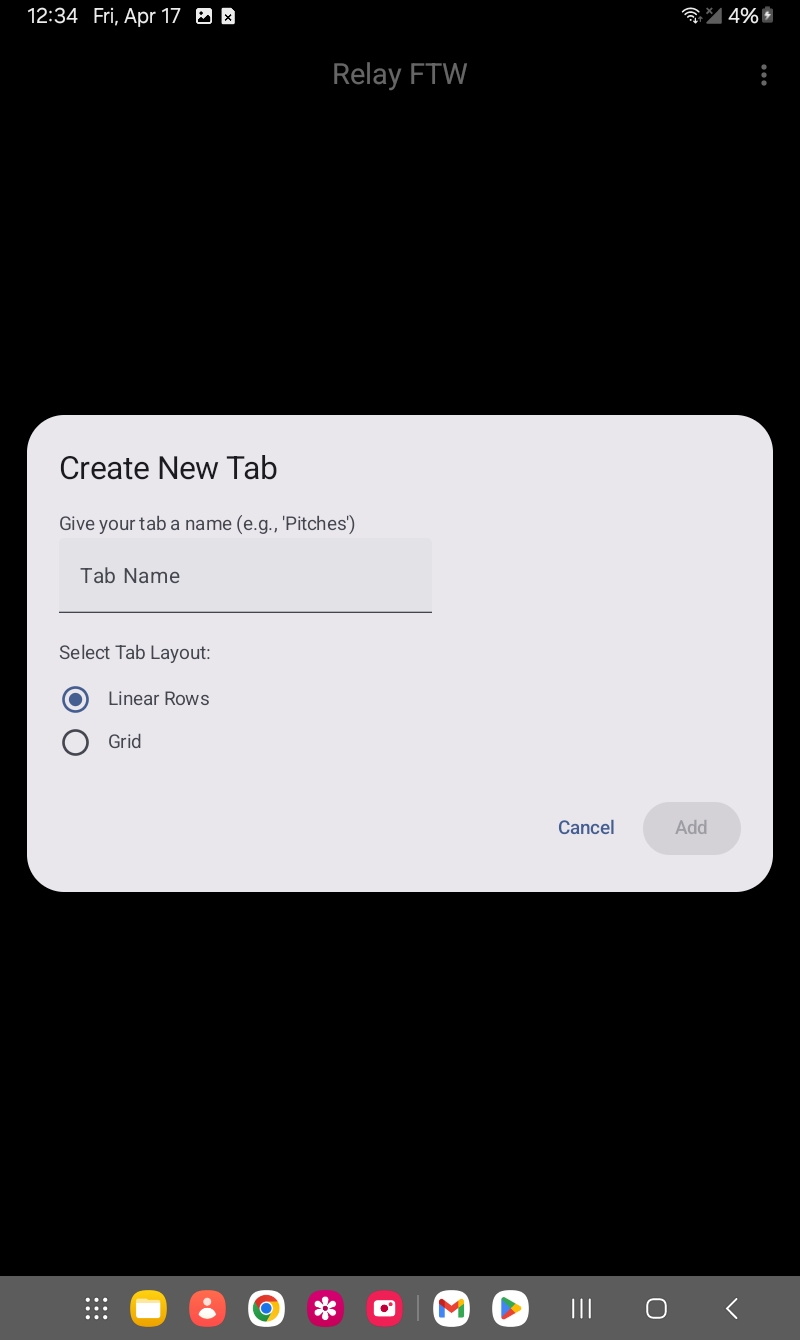
- Enter a name for your tab (e.g., "Pitches").
Linear vs. Grid Based
Once the tab is named, you must decide how you want to interact with your signals.
- Linear Layout: Best for simple setups. Pitches appear in a vertical list. Great for coaches who prefer scrolling.
-
Grid Layout: Best for high-speed signal calling. Larger buttons arranged in a grid for "no-look" tapping.
-
Choose your preferred layout from the prompt.
Defining the Signal
Now, let's add the actual signals that will be sent to the watch.
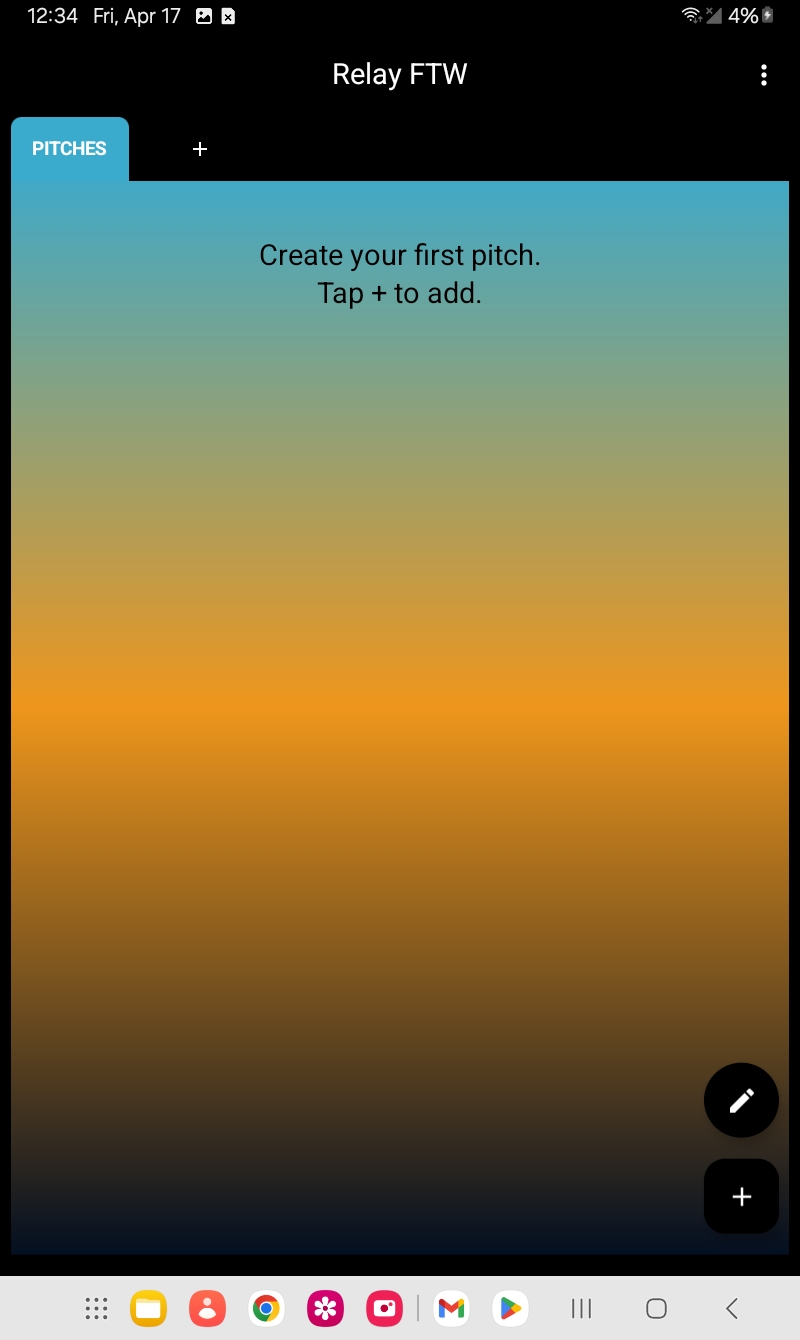
- Inside your new tab, tap "+" (Plus) in the lower right corner.
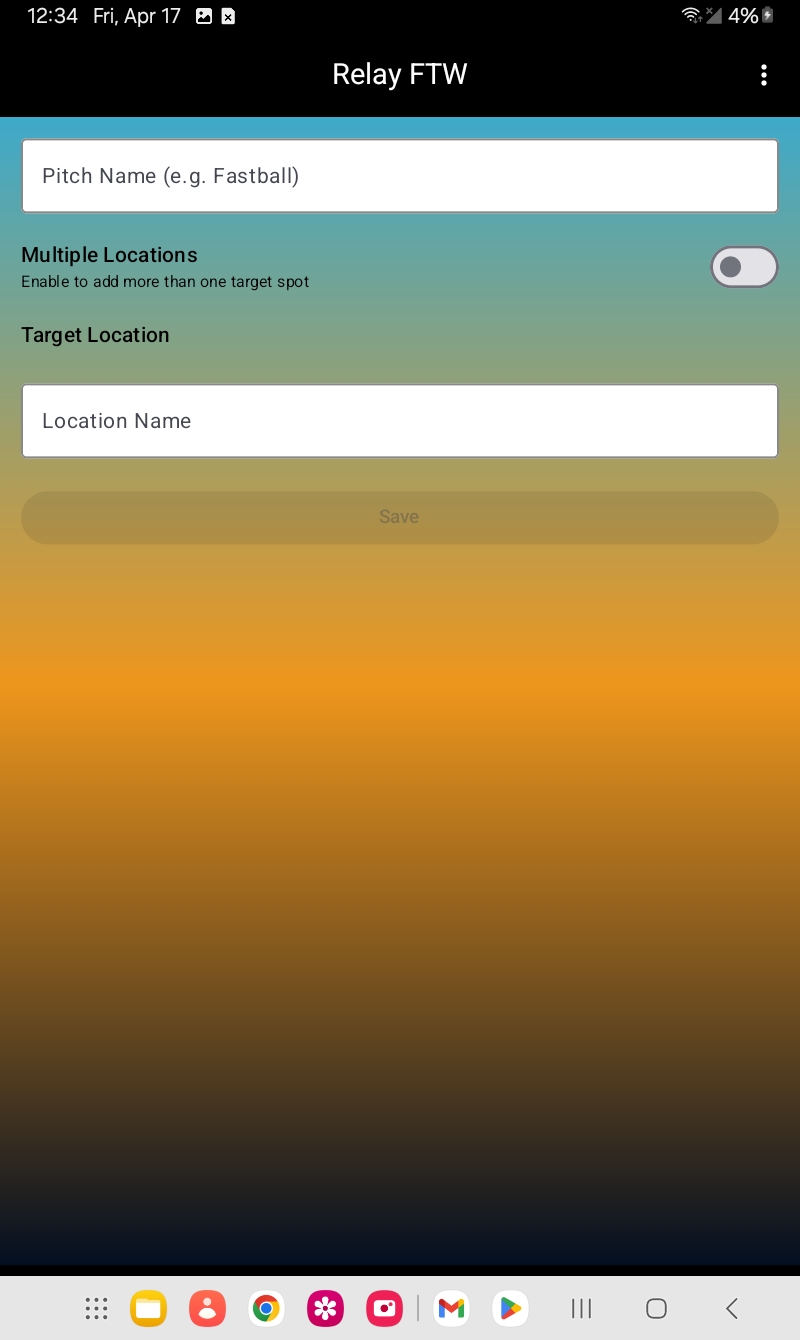
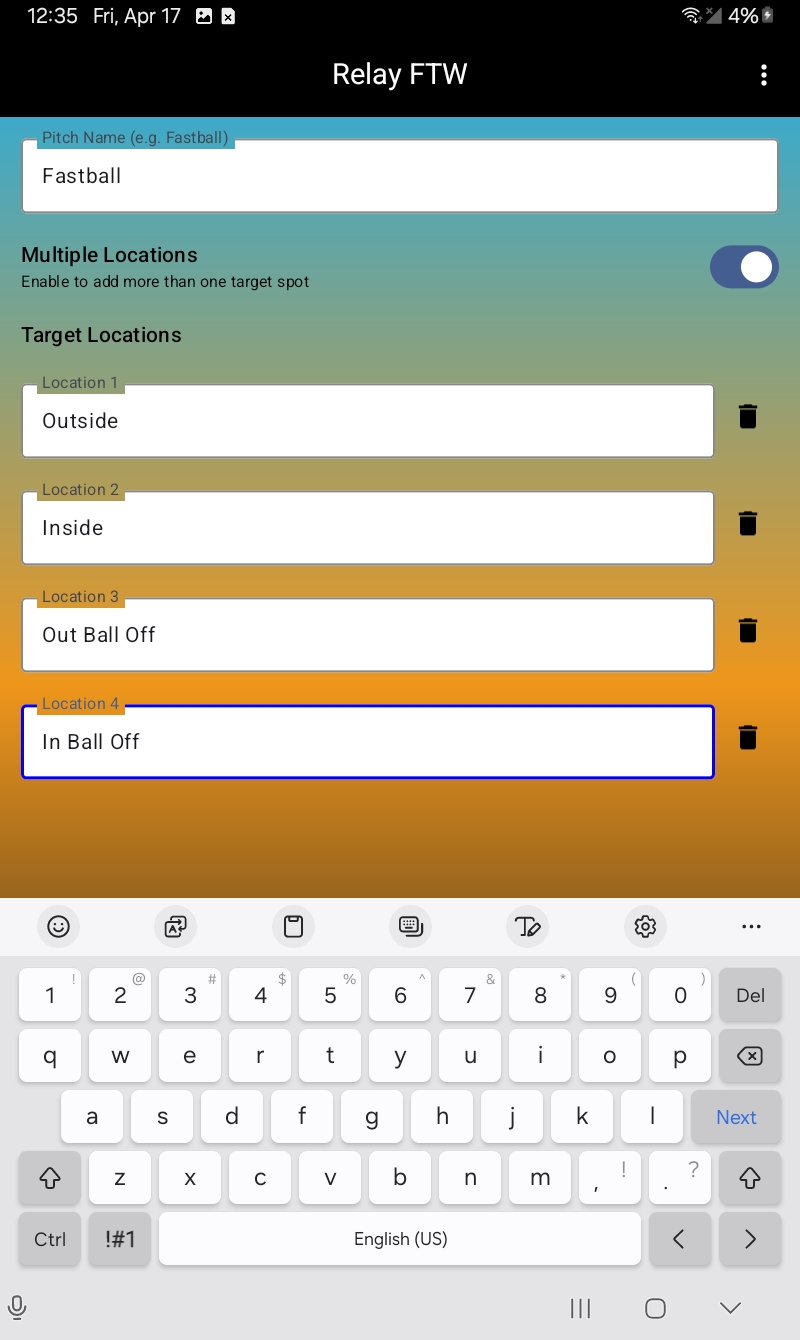
- Enter the Pitch Name (e.g., "Fastball" or "Changeup").
Advanced Location Mapping
If you want to be specific about ball placement, you can enable multiple locations for a single pitch.
- Toggle the "Multiple Locations" switch to ON.
- Select the zones you want to include (e.g., Inside/Outside, High/Low).
- When you tap the pitch during a game, a sub-menu will appear allowing you to pick the specific location before the signal is relayed.
Coach's Tip for Peak Performance
When creating your grid, try to keep your most frequent pitches (like a standard Fastball) in the top-left corner. This muscle memory allows you to send signals faster without taking your eyes off the runner on first base.